
Choose glasses for your face shape, then test them on your photo
Face shape suggests where to start. Frame size, brow line, bridge fit, and color decide the result, so preview a short list on one photo before buying.

TL;DR
The shortest version before the full guide.
- Face shape labels give a starting point, not a rule; your preferences and frame fit matter more.
- A common starting point is contrast: angular frames for rounder outlines, softer frames for more angular ones.
- Frame width, brow line, and bridge fit change the look as much as the shape does.
- Preview a short list of frames on one photo with the same strength setting.
- Confirm size and fit with an optician or the retailer before buying; a preview is a reference, not a fitting.
Use face shape as a starting point
Most glasses advice starts with face shape: oval, round, square, heart, or long. These labels describe the overall outline of a face in a photo. They are a reasonable starting point, but they are not a rule. Many faces sit between two labels, and the same face can read differently with a different haircut or camera angle.
A more useful way to think about it: glasses add lines to your face. Those lines can repeat the outline you already have, or contrast with it. Choose based on the look you want, then check fit and size. The same experiment-first approach used in the hairstyle preview guide works for frames.
Frame starting points by face shape
The table below lists common starting points. Treat each one as a first frame to try, not a prescription.
| How the outline reads in your photo | Common starting point | MogScore templates to preview |
|---|---|---|
| Rounder, with soft curves and similar width and length | Angular or rectangular frames add contrast | Slim Gunmetal Rectangle, Black Geometric Metal |
| Square, with a defined jaw and wide forehead | Round or oval frames soften the lines | Round Black Acetate, Gold Titanium Round, Rose Gold Oval |
| Longer than it is wide | Deeper frames with some width break up the length | Tortoise Wellington, Amber Oversized Square |
| Wider at the forehead, narrower at the chin | Frames with weight on the lower half or a light top edge | Rimless Silver, Rose Gold Oval |
| Balanced or oval | Most shapes work; choose by style | Black Silver Browline, Rose Brown Cat Eye, Clear Crystal Square |
If you are not sure which row applies, skip the label. Preview one rectangular frame, one round frame, and one browline frame, and compare.
Check size, brow line, and bridge
Frame shape gets most of the attention, but three fit details often matter more in photos.
- Width: the frame should be roughly as wide as the widest part of your face at the temples. Frames that are much wider or narrower look out of proportion.
- Brow line: the top of the frame usually looks best near or just below your eyebrows. Frames that cut through the middle of the brows, or sit far below them, can look off.
- Bridge: the frame should sit on your nose without sliding down. A low-bridge fit, such as the Navy Sport Low Bridge template, is designed for flatter nose bridges.
- Eye position: your eyes should sit roughly in the middle of each lens, not near the edge.
A preview can show style and proportion. It cannot confirm the measurements printed on a real frame. Ask an optician or the retailer to check size and fit before you buy.
Pick a color that matches your contrast
Color decides how much attention the frame draws.
- Black or dark tortoise: strong contrast; reads bold on lighter hair and skin, more blended on darker features.
- Metal (gold, silver, gunmetal): lighter visual weight; good if you want the frame to feel minimal.
- Clear or rimless: least visible; the face reads with minimal change.
- Warm colors (amber, rose-brown): often pair well with warm hair colors. Hair color for skin tone explains warm and cool tones in photos.
Preview frames on your own photo
Use one clear, front-facing photo with your eyes and brows visible. Remove your current glasses for the source photo if you can, so the try-on is not working around an existing frame. The photo selection checklist helps you choose a usable photo.
In Virtual Glasses Try-On, choose a frame template and a Strength setting: Subtle, Balanced, or Bold. Keep the same source photo and strength for every frame you compare, so the only difference is the frame. Generation requires Google sign-in and Credits; check the cost in the tool before starting.
- Same source photo and strength for every frame.
- Check the frame sits at a believable height on the nose.
- Check the brow line and where the eyes sit in the lens.
- Look for unintended changes to the eyes or face.
- Shortlist two frames and note why you prefer each.
If the generated face looks different beyond the glasses, do not credit the frame for the change. Try again or treat the image as a loose style reference.
Take the shortlist to a real fitting
Bring your favorite previews to an optician or try the frames in a store. Ask about frame measurements, lens thickness for your prescription, and adjustment. A preview helps you arrive with a clear direction; it does not replace a fitting.
Glasses are one part of a wider look. For hair, read the hairstyle preview guide. For facial hair, see beard styles by face shape. For the photos you take afterwards, how to look better in photos covers glare and angle.
Sources and method
Prepared by MogScore; updated November 9, 2026. Template names and the Strength options were checked against the current Virtual Glasses Try-On configuration. The face-shape starting points are common styling conventions, not measured outcomes, and no frame is guaranteed to suit a particular face.
Frequently Asked Questions About Best Glasses for Your Face Shape: How to Choose and Preview Frames
Answers to common questions about this guide.
Use the guide with a current-photo preview
Start with one clear photo, then use the guide to decide which setup or style change to test next.
Related articles
Continue with the next setup, glossary, or product guide.
 How-toHow to Look Better in Photos: Light, Angle, Posture, and ExpressionMost unflattering photos come from a few fixable conditions. Find the light, set the angle, relax your posture and expression, and choose the frame on purpose.
 Style GuideBeard Styles by Face Shape: How to Choose and Preview a BeardFace shape suggests where a beard can add or remove visual length and width. Your growth pattern and upkeep decide what is realistic, so preview before you grow or trim.
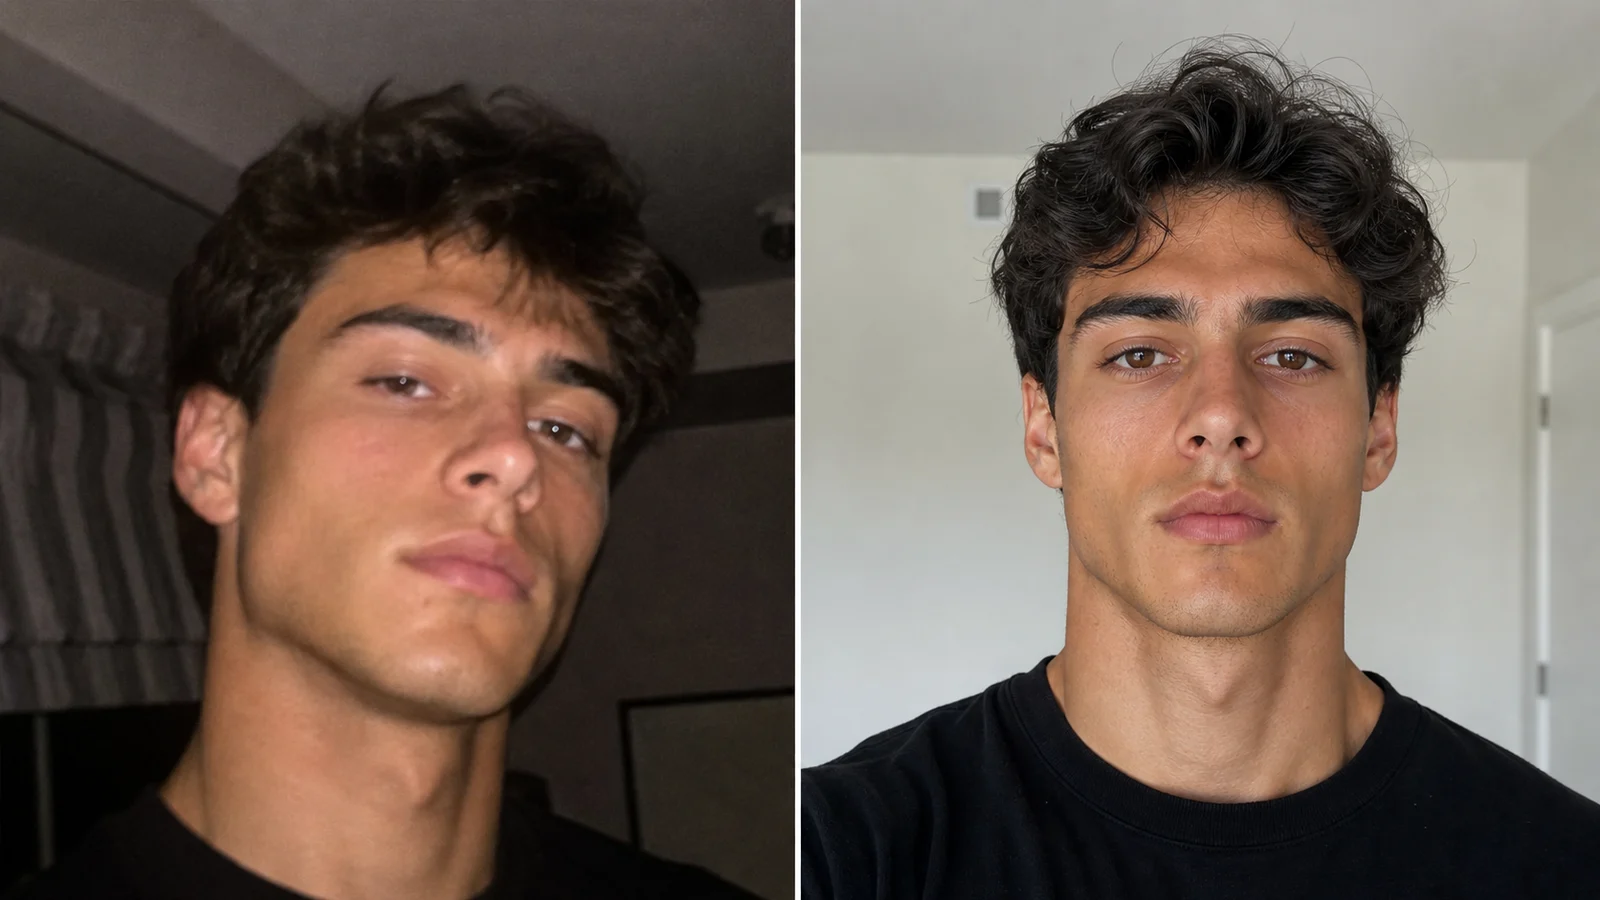 Photo TipsBest Photo for an AI Face RatingChoose one usable original from your photo library, record why it works, and fix the specific problem if the scan fails.