
Best photo for an AI face rating
Choose one usable original from your photo library, record why it works, and fix the specific problem if the scan fails.
TL;DR
The shortest version before the full guide.
- Choose a clear original file with one visible, upright face.
- Check readable face edges before choosing the most flattering portrait.
- Retake a blurred or filtered image; cropping cannot restore missing detail.
- A successful scan is not proof that a rating measures objective attractiveness.
Choose for readability before flattery
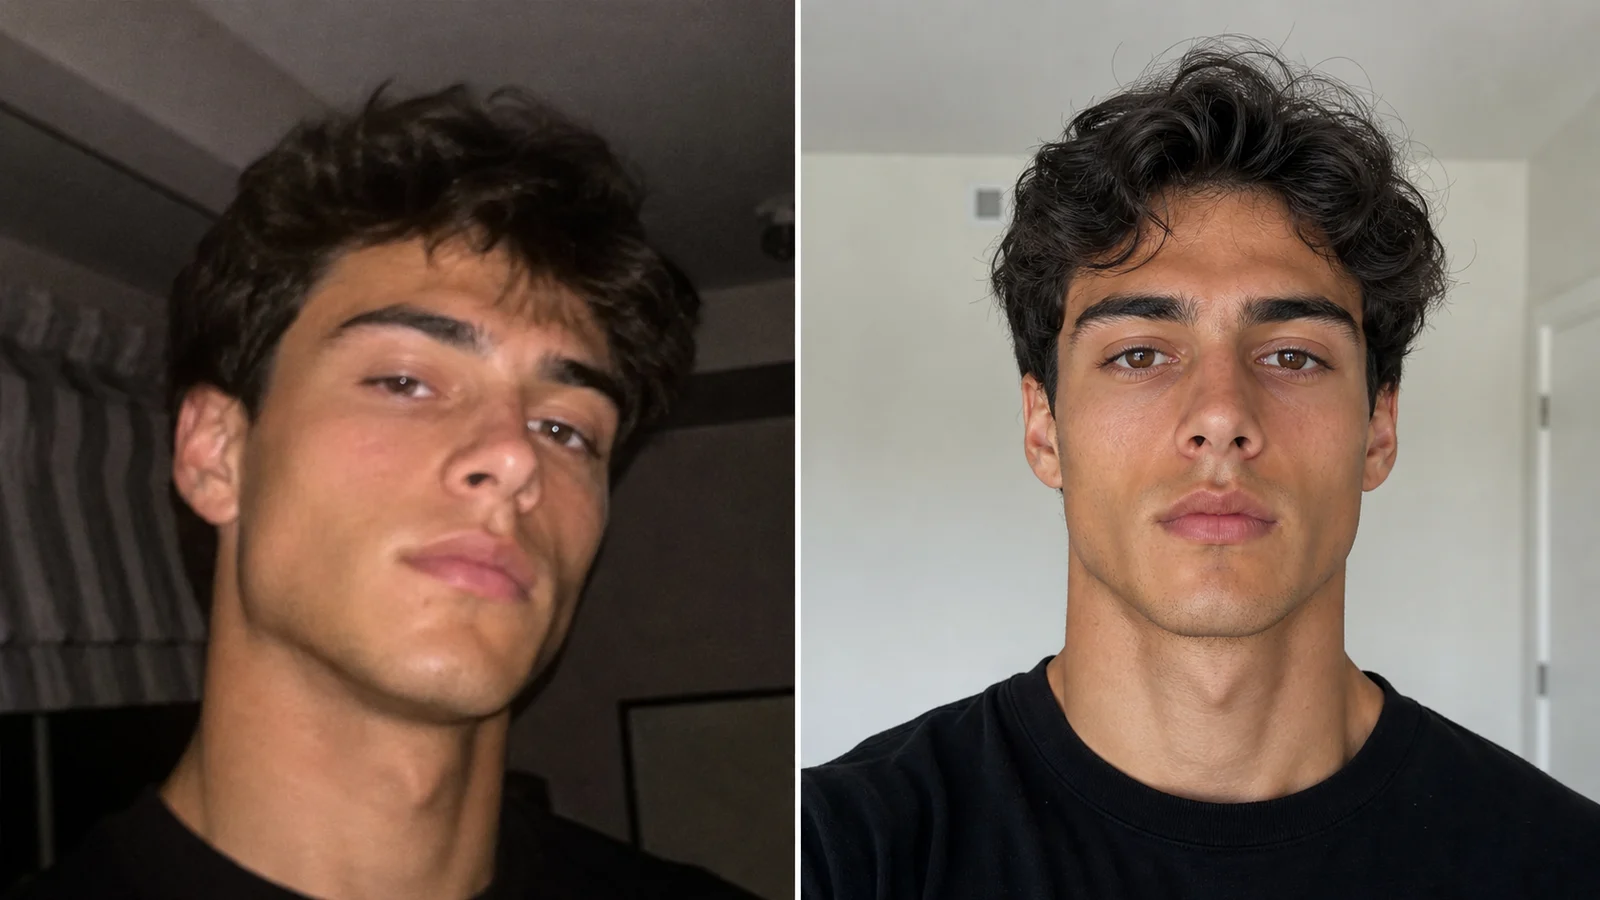
The best upload for an AI face rating is a photo you can inspect and repeat. Start with an original portrait in which one face is upright and visible from forehead to chin. A recent, ordinary image is more useful as a baseline than a dramatic selfie whose angle, filter, or lighting you cannot reproduce.
By the end of this guide, you should have one file to upload and a short reason for choosing it. If none of your existing photos passes the checks below, take a new photo using the camera comparison guide.
Compare three candidate files
Consider this hypothetical selection exercise: A is an original outdoor portrait, B is a dim indoor selfie, and C is a screenshot of a group photo. Keep A if the face is clear and the light reveals both sides. Reject B if you cannot see the eyes clearly. Reject C if cropping leaves too little detail. “Outdoor” alone does not make A better; a sharp indoor original can be the stronger input. This exercise describes a decision, not a measured score result.
| Candidate | Check at normal viewing size | Decision |
|---|---|---|
| Original solo portrait | Are the eyes, nose, mouth, forehead, and chin readable without enlarging? | Keep if clear, recent, and unfiltered. |
| Indoor selfie | Does light reveal both face edges? Is there motion blur? | Retake if missing detail comes from darkness or movement. |
| Group-photo crop | Is there one complete face with enough detail left after cropping? | Prefer a solo original if the crop is tiny or includes another face. |
| Filtered social image | Did an effect change the outline, eyes, nose, or skin texture? | Find the original or take a new image. |
A face can be detectable without being a good comparison input. A close-up may show every feature clearly while changing their apparent proportions through perspective. Keep detection success and comparison quality as separate checks.
Inspect the original before uploading
Open the file rather than judging its thumbnail. Look for double edges around the eyes and lips, smeared hair detail, a cropped chin, or a bright window behind a dark face. Move through visibility, blur, crop, camera distance, and filters in that order. Missing face detail is a reason to retake, not to sharpen aggressively.
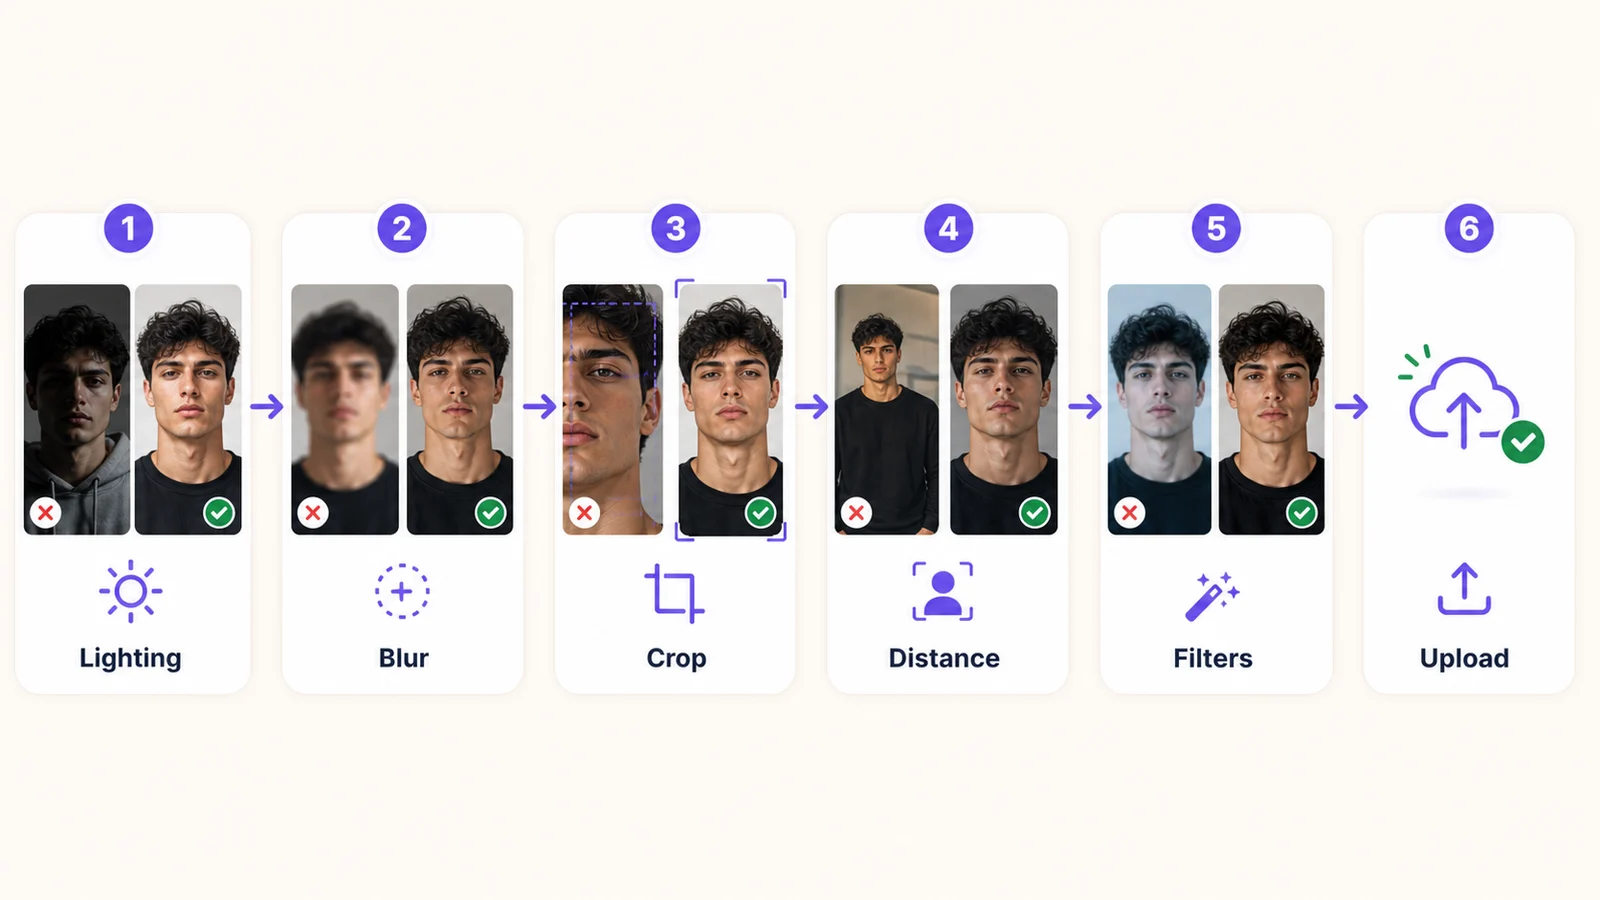 Use this as a selection checklist, not a guarantee of scan accuracy.
Cropping can remove an irrelevant border or a distant background face. It cannot recreate a hidden forehead, restore motion-blurred eyes, or undo a beauty filter. Avoid adding artificial detail with an image generator before the rating: that would change what is being evaluated.
Keep your original file so you can return to it. If an export makes the image visibly softer, use the original rather than repeatedly compressing it through messaging or social apps. A high pixel count alone does not fix poor focus.
Make the selection before you see a score
Open two or three candidates at a similar displayed face size. First remove any image with an incomplete face, severe blur, or a face-changing filter. Among the remaining files, choose the one with the clearest eyes and face edges under conditions you can repeat. If two files are equally readable, choose the more recent original that represents the presentation you actually want to review.
Write the reason before uploading. That stops a preferred number from becoming the only reason a photo seems “good.” Here is a filled note for the hypothetical A/B/C exercise:
For your own note, replace the file names and observations. You do not need to ask an AI to choose the photo first, or obtain a score for every rejected candidate.
Match the response to the problem
A stalled upload, a camera permission problem, and an unreadable face are different failures. Use the message shown by the tool to decide what to try next.
| What you see | Useful next check | What it does not establish |
|---|---|---|
| No usable face detected | Choose an upright, unobstructed portrait with clearer light and full face edges. | A failed detection is not a low rating. |
| More than one face | Use a solo original or a crop that retains sufficient detail. | You should not assume the scan is reading the person you intended. |
| Unclear or unstable preview | Remove filters and compare a steady retake under consistent conditions. | Repeated numbers do not prove permanent facial proportions. |
| Camera cannot open | Check browser camera permission or try an existing upload. | A device-access failure says nothing about the photograph. |
| Loading or browser error | Follow the error message and retry in a supported browser. | A retake will not necessarily fix a software-loading problem. |
Read the preview with the right boundary
MogScore's free rating preview starts with a browser-local face scan and costs 0 Credits, with no Google sign-in required. Select Upload to use the original you chose, or Camera to capture a replacement. Google documents MediaPipe Face Landmarker as a tool for landmarks and facial expressions. That documentation does not validate MogScore's attractiveness interpretation. Detecting a face and assigning meaning to a score are separate steps.
Keep the question narrow: is this input clear enough to describe, and what visible presentation choice would you compare next? A better-lit retake can make the photo easier to interpret without demonstrating a change in your underlying appearance.
If a result feels surprising, check the original and the capture conditions before making a styling decision. For a discussion across multiple views, AI Face Analysis is a separate signed-in workflow; it does not require you to obtain a free rating first.
Before you continue
- One complete, readable face.
- Recent original file, without a face-warp filter.
- Eyes and mouth in focus at normal viewing size.
- No important face edges missing from the crop.
- A setup you can repeat if you want a comparison.
Sources and method
Prepared by MogScore; updated October 2, 2026. The A/B/C exercise and selection note are hypothetical editorial examples. The photo checks are a practical selection method, not a controlled evaluation of scan accuracy or score reliability. MediaPipe's documentation explains the landmark detector; it does not establish an objective attractiveness measure. Product steps were checked against MogScore's rating and upload implementation.
Frequently Asked Questions About Best Photo for an AI Face Rating
Answers to common questions about this guide.
Use the guide with a current-photo preview
Start with one clear photo, then use the guide to decide which setup or style change to test next.
Related articles
Continue with the next setup, glossary, or product guide.
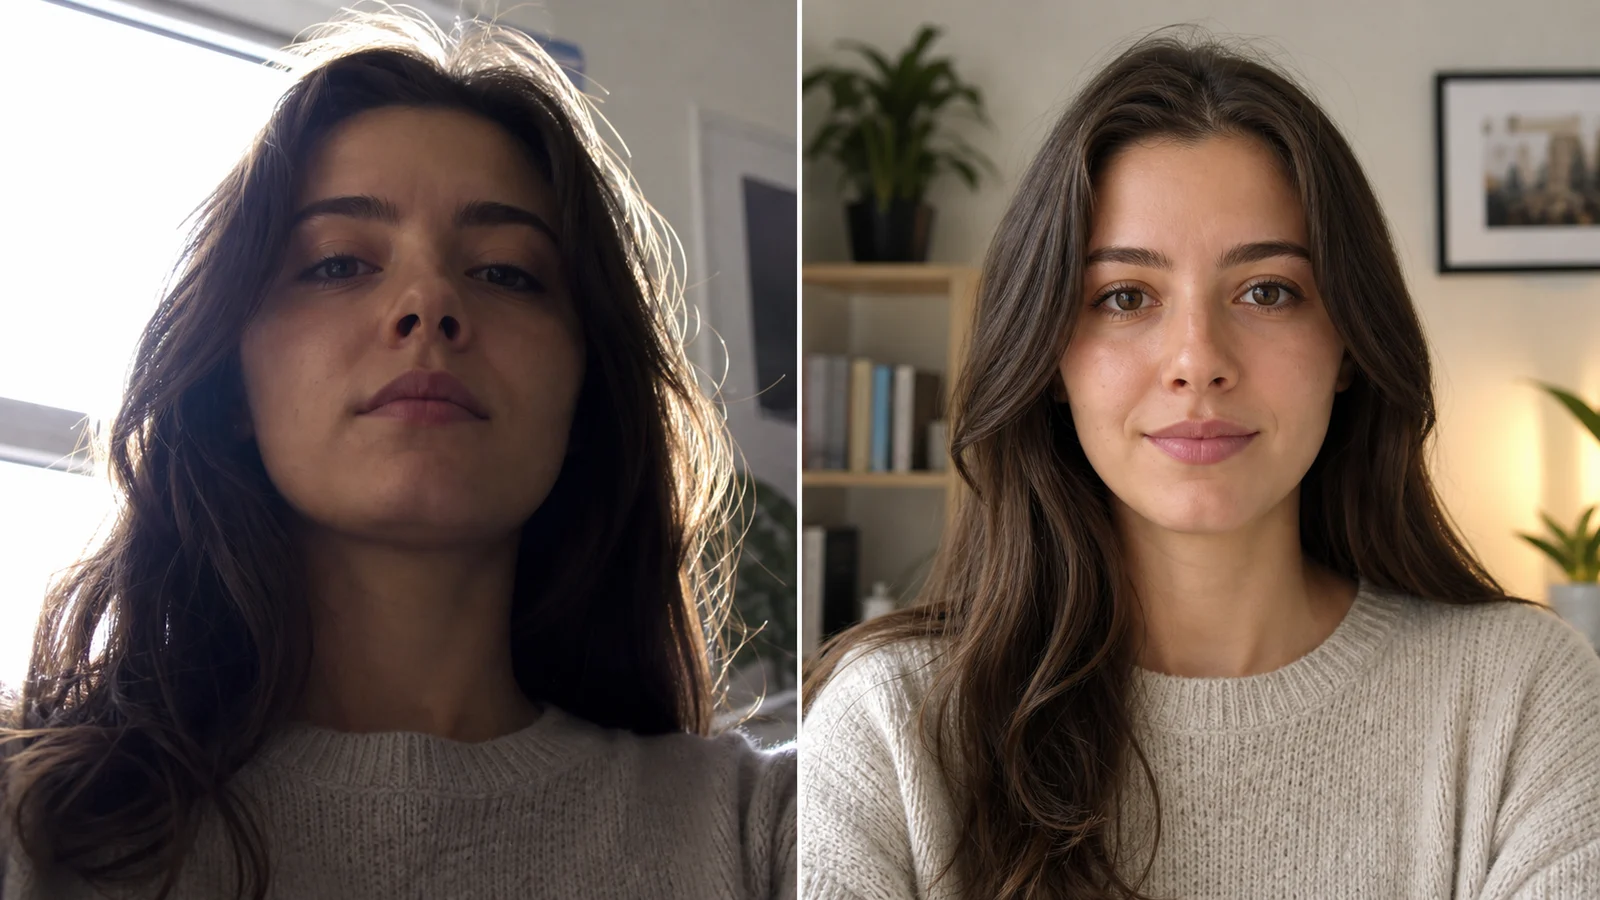 How-toCamera Setup for Repeatable Face Photo ComparisonsMake a repeatable baseline, keep a capture note, and run one useful retake without changing the whole setup.
 ExplainerWhat Does Get Mogged Mean?Understand mog, mogged, and mogger through sentence examples, check the tone of a caption, and separate a photo observation from an appearance hierarchy.